Guide
Football video analysis without an analyst: a practical guide for grassroots coaches
You don’t need an analysis department. You need to show one player one thing, clearly, before the next session. Here’s the workflow, from filming to the first clip.
By My Annotator · · 8 min read
Professional clubs have analysts, tagging software and a room with a projector. Most coaches have a phone, a Sunday evening and a group chat. The good news is that the part of video analysis that actually changes how players play doesn't need any of the professional setup. It needs you to show one player one thing, clearly, before the next session.
This guide is the workflow we'd recommend to any grassroots, amateur or youth coach starting out: from getting usable footage to putting a marked-up clip in front of your players.
Why video works when words don't
From the touchline you see the whole pitch. Your players see the few metres around them, at full speed, while tired. When you say “you had a free man in the middle” after the match, the player is trying to picture a moment they never saw the way you did. Often the honest answer is “I didn't see him”, and that's the point.
A paused frame settles it. The player sees where they were, where the space was and what the better option looked like, from above. You stop arguing about what happened and start talking about what to do next time.
Step 1: Get footage you can actually use
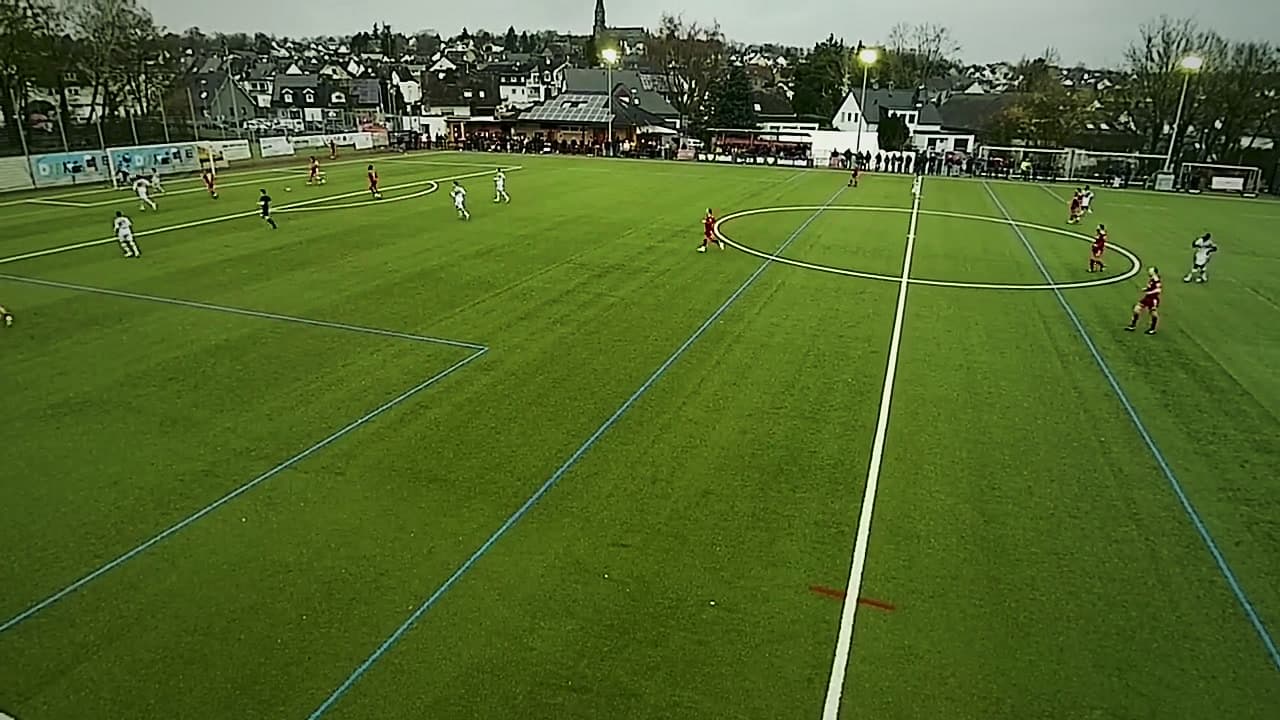
You don't need a drone or a broadcast camera. You need the whole shape of the team in view.
- Film from high and central. The halfway line, as high as you can get: a stand, a raised bank, a telescopic pole or a tripod on a wall. Height matters more than picture quality.
- Stay wide. Resist following the ball closely. You want to see the players off the ball, because that's where most coaching points are.
- Landscape, stable, fully charged. Bring a power bank, turn on flight mode so a call doesn't stop the recording, and check you have storage for 90 minutes.
- Ask someone else to press record. A parent, a substitute or an injured player. You have a match to coach.
Many clubs and leagues already record and upload games. If your club has a YouTube channel, that footage works too.
Filming youth players? Check your club's and your association's policy first and get parental consent. In the EU, recordings of identifiable players are personal data, so keep footage private and share it only with the squad.
Step 2: Decide what you're looking for before you press play
Watching a full match with no question in mind is how a Sunday evening disappears. Pick two or three themes before you start, ideally the ones you worked on in training that week:
- Playing out from the back against a press
- Distances between the lines when we lose the ball
- Who attacks the far post on crosses
Everything else can wait for another week. A theme also makes the session easier to explain to players: “this week is about the first pass out of our half” lands better than a list of every mistake in the game.
Step 3: Scrub the match, don't watch it
You are not a spectator any more. Skip dead time, run open play at 1.5× or 2×, and slow down only when something related to your themes happens. Mark the moment and keep going.
A useful rhythm for a 90-minute match is to collect 20 to 40 candidate moments in one pass, then cut them down. Players will not take in 40 clips. They will take in five to eight, and they will remember two or three.
When you cut, keep the moments that:
- show the theme clearly, without needing a long explanation
- include good examples, not only mistakes
- involve different players, so it doesn't feel like one person is on trial
Step 4: Draw one idea per frame
Pause at the moment the decision is made, usually just before the pass, not after it went wrong. Then draw as little as possible:
- Spotlight the player the clip is about, so every eye goes to the same place.
- Zone the space that mattered: the gap between two pressers, the area behind the full-back.
- Arrow the pass or run that was on.
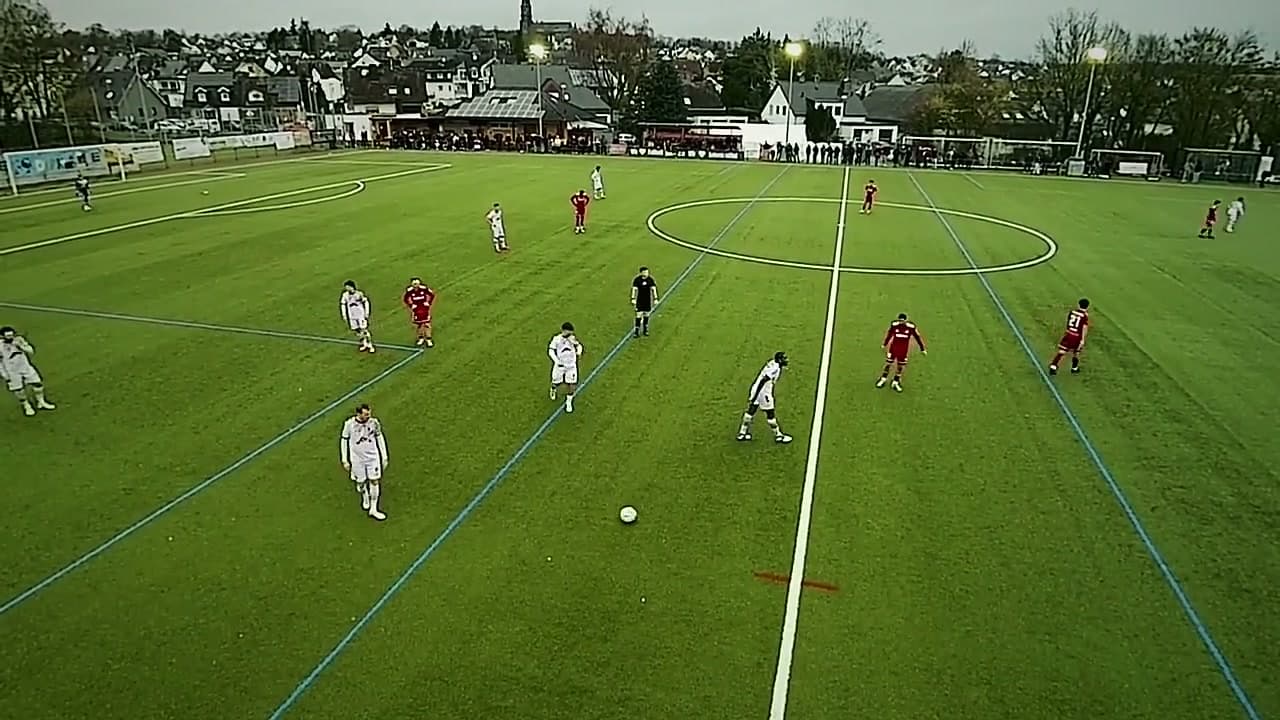
If a frame needs seven arrows and three circles, it's two frames. Split it, or pick the one idea that matters most.
Step 5: Write the note in the player's language
Add one or two sentences to each moment: what you see and what to do. Leave out the tactical vocabulary. Compare:
“Our positional play lacked verticality in phase one.”
“Ball on the back line. The 6 is free in the gap. Play him, and the 8 runs through.”
The second one tells a player exactly what to look for next Saturday. If a player rewatches the clip alone, the note is what does the coaching.
Step 6: Show it before the next session
Video is only useful once it reaches the player. There are two ways that work for amateur teams, and they work best together:
- A short group session before training, around ten minutes. Clubhouse TV, laptop or projector. We wrote a separate guide on running a video session players remember.
- A link they can rewatch on their phone, that opens at the moment you marked with your drawing on it. This is where one-to-one feedback belongs: nobody gets corrected in front of the whole squad.
Then close the loop. Build Tuesday's drill around the same theme, and next match, look for the same situation again. A clip where the player gets it right is the best clip you'll ever show.
What you actually need
Strip it down and there are three things:
- A camera, which is your phone.
- A way to pause and draw on the footage, with each drawing tied to the second it belongs to, so you're not screenshotting and scribbling in a photo app.
- A way to share that doesn't mean exporting and uploading a video file for every clip.
That's the job we built My Annotator for. On the free plan you can draw on YouTube footage and your work is saved in your browser. On Coach (€5.99/month) you can upload your own match files, keep a library in the cloud and send players replay links that open on your marks. Team adds your coaching staff, shared comments and a presentation board for team talks. The full comparison is on the pricing page.
Common mistakes to avoid
- Too many clips. If the session runs over 15 minutes, players stop listening. Cut harder.
- Only mistakes. Players who only ever see themselves getting it wrong start to dread video. Show what good looks like, ideally from your own team.
- Reviewing straight after a loss. Give it a day. You'll pick better moments and deliver them more calmly.
- Drawing everything. Every extra line takes attention away from the one that matters.
- No follow-up. A clip without a matching drill on the training pitch is a nice picture, nothing more.
Start small: one match, one theme, five clips. You'll be surprised how much a single paused frame can do.